A neat row header is one of the most underrated best practices while working with Spreadsheets. It has the potential to save tons on time, make a good presentation impression in front of you colleagues/boss and can be easily shared with others.
In this article we will lets cover two aspects:
- What are the essential features of a Good Row Header
- How to Create a Good Row Header
You will be able to easily create a row header once you go through this tutorial.
Table of Contents
What Constitutes a Good Row Header
Below are the 4 minimum qualities of a a good row header.
- Have the First Row as Row Header.
- Row Text should accurately represent the meaning of data in the column.
- The Text should be visibly clear and should stand apart from regular rows. You can do this by:
- Making the text bold
- Adding background color
- Increasing the Font Size
- Adjusting Column Widths
- Lock the Header Row
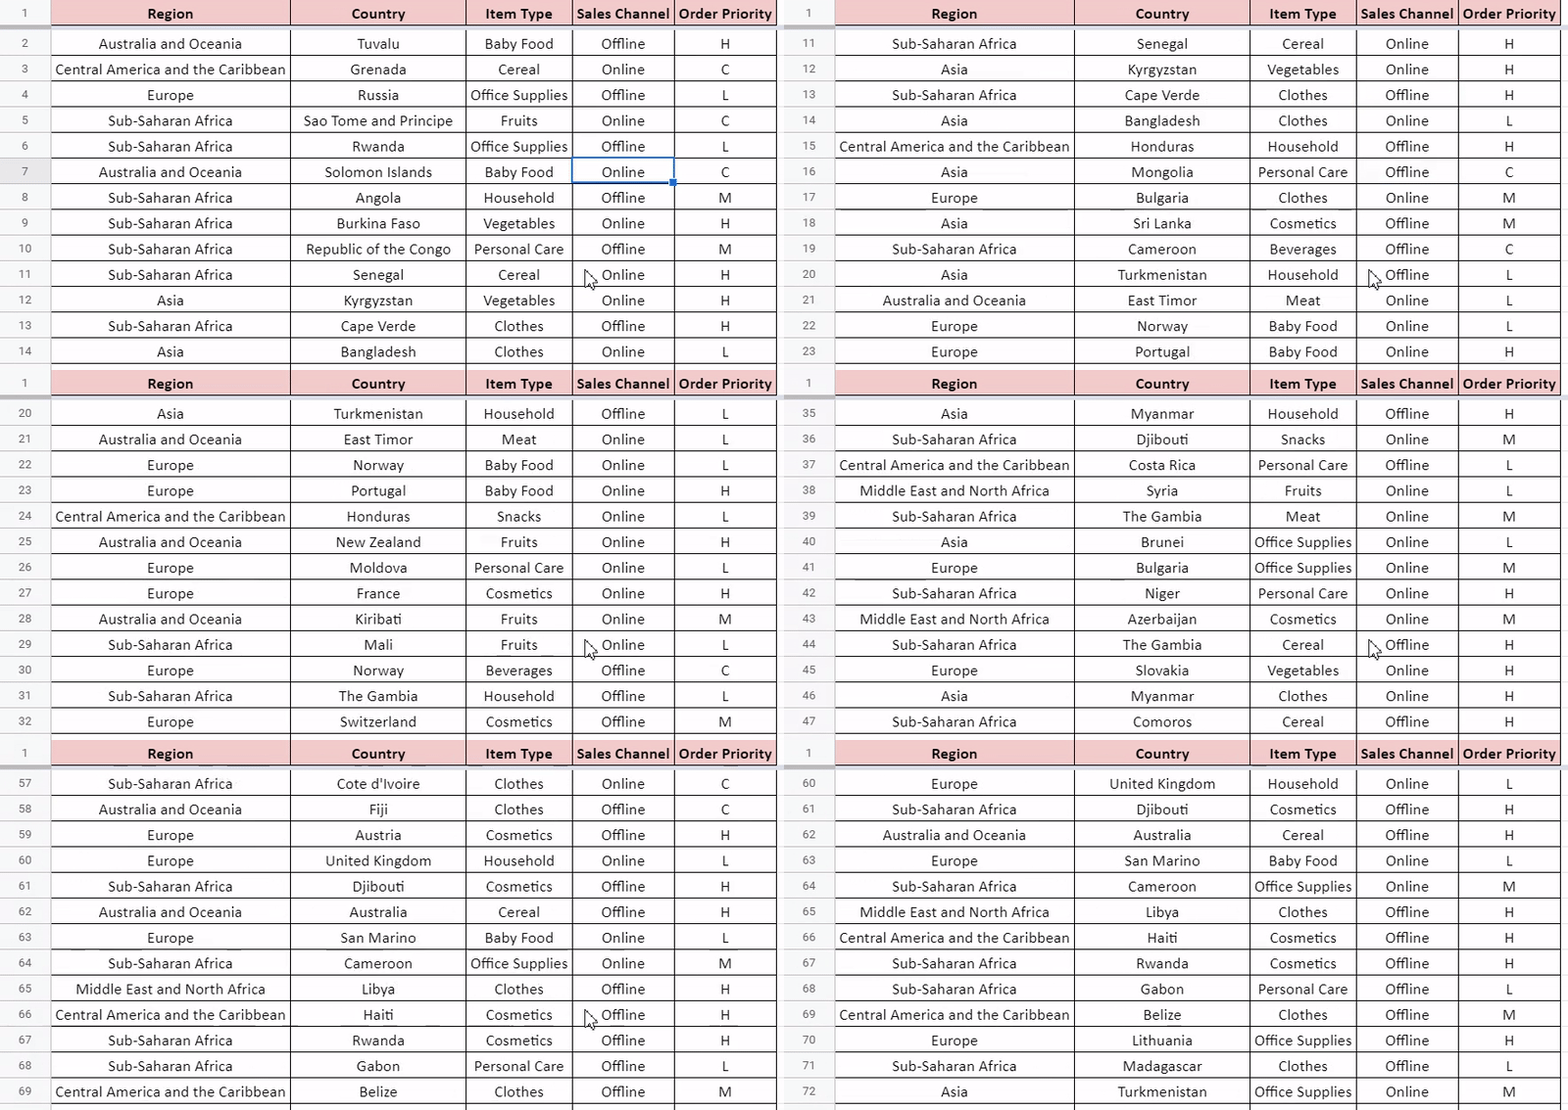
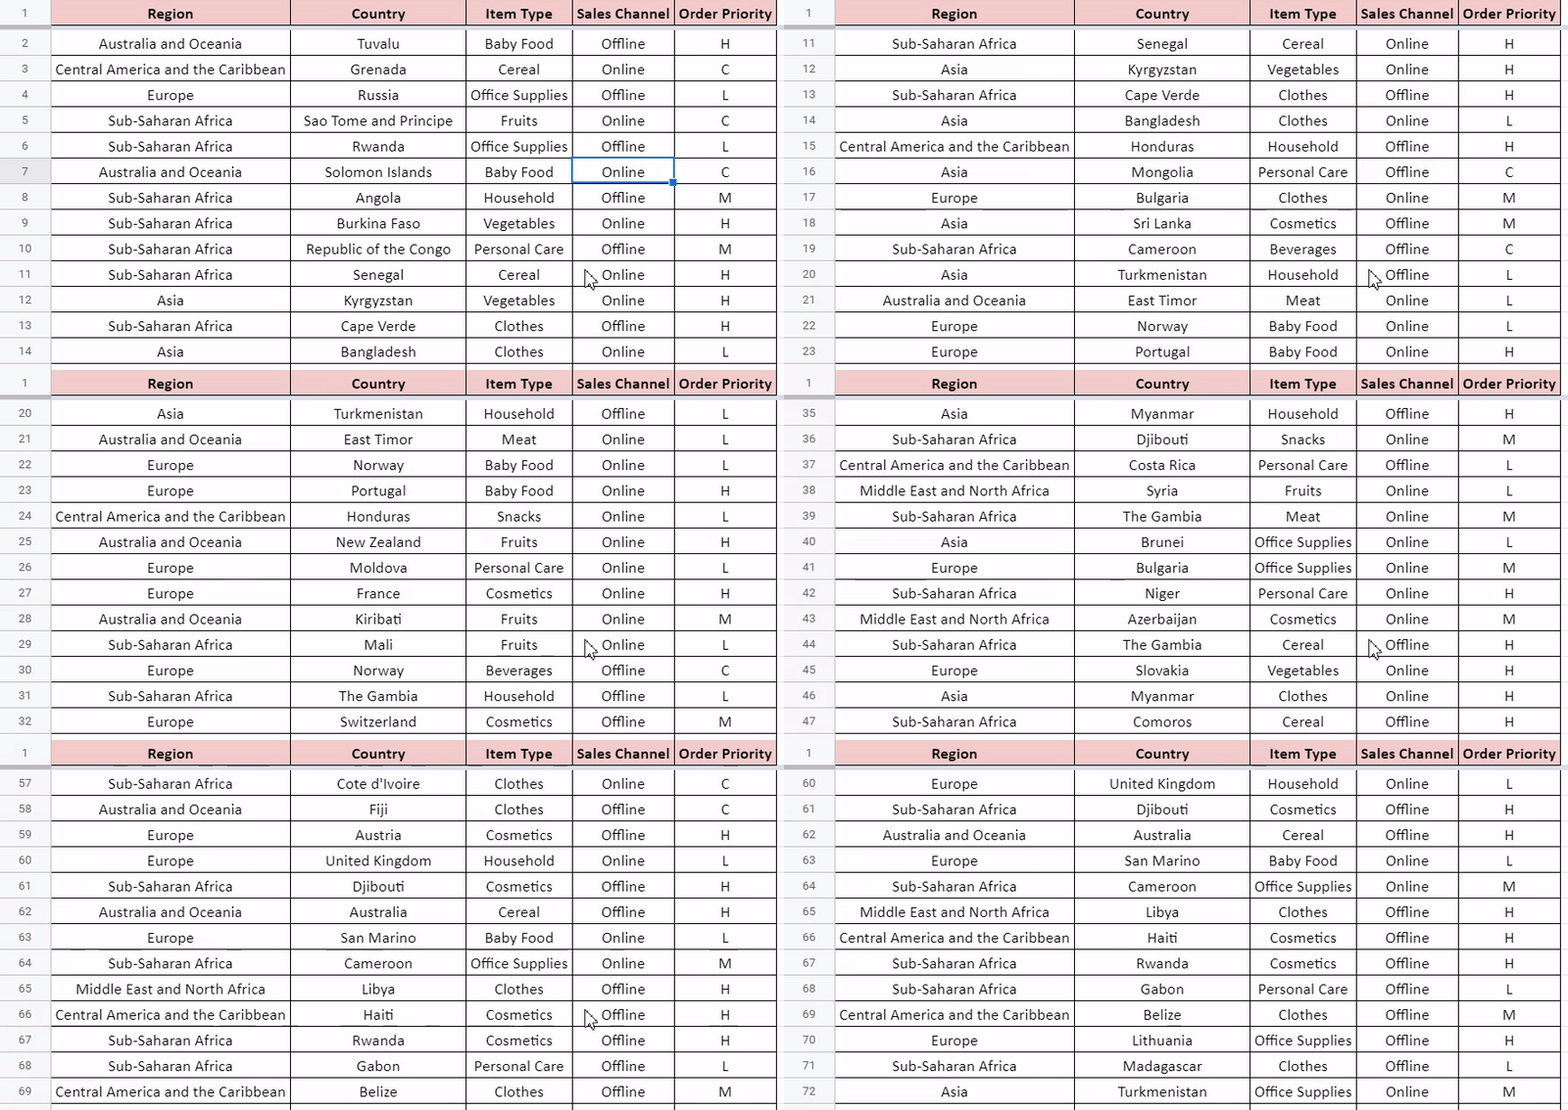
Lets see the example below:

All the qualities discussed before are present in the above table. The Header Row is stands out amongst the other rows, the column names accurately denote the type of data they represent and the best part is that it the header row remains fixed when we scroll.

Creating a Row Header in Google Sheet
I believe you can work on point 1 & 2 as they pertain to formatting and editing. Lets discuss point 3, i.e. how can you freeze the header row.
Follow the below steps to freeze the first row in Google sheet.
1. Goto View under Menu Option.

2. Click Freeze -> 1 Row

3. Now try to scroll. You’ll find that the first rows stays in place while you scroll down.

This was a good lesson on fundamental practices of spreadsheets. If you want to learn more about freezing row/columns then visit this link.
That’s it on this topic. If you still have any questions, then drop a comment below. Keep browsing SheetsInfo for more such useful information 🙂


