While normally it’s easer to view/share Google sheets files digitally, at times we may land up in a requirement to print Sheets as well.
While everyone of us certainly knows the standard process to printing (CTRL + P , no marks for guessing). It’s good to know how various print options can help configure your print pages correctly.
In this article we will touch upon various options to help setup print area correctly.
Table of Contents
Printing Area Selection: Single Sheet/ Cell Selection
You may want to print a single sheet or a custom selection of your choice. The required steps to perform the respective options is detailed below.
Printing Single Sheet
- Select the sheet by clicking any cell within the sheet
- Press Ctrl+P or Select Print icon from tool bar
- Now goto top right section of Print settings. Under top right drop down of Print, select “Current Sheet”
Printing Custom Selection
- Select the group of cells you want to print
- Press Ctrl+P or Select Print icon from tool bar
- Now goto top right section of Print settings. Under top right drop down of Print, select “Select Cells(##:##)”
Selecting Paper Size A3, A4, A5, Letter, Tabloid etc
End of the day all Print Area Settings will controlled by the size of paper you want to print the data into. Hence, it is of utmost importance to select the right paper size for your print job.
Below is a demo of how this would work. As expected different paper sizes have different dimensions leading to different number of rows which can captured in one page.

Managing Page Breaks while Printing
Page Breaks allows us to contain the number of rows and columns on a single print page. While Google sheets automatically assigns page breaks as per document size, you can always adjust it as per your needs.
Step 1: Goto Print Option using Ctrl+P or Print icon on the toolbar
Step 2: Turn Custom Page Breaks On and Press Edit.
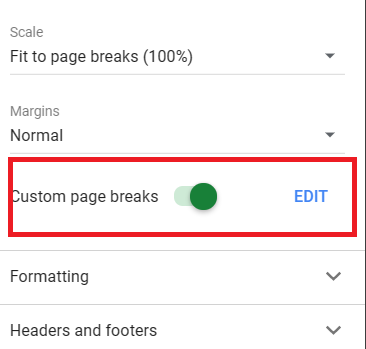
Step 3: Now Click and Drag the Blue Horizontal and Vertical Lines as needed.

Below is an example of the above in action.
Margin & Scale Adjustment
You can very easily switch to a narrow or a wide margin basis your need.
Goto Margin Option present under the print settings.
Now click on drop-down and select “Narrow”, “Normal” or “Wide”.

Similar to Margins, you can also select Scaling options. A Normal(100%) scale preserves the orginial size of columns and rows. While other options like “Fit to Width” & “Fit to Height” will adjust columns/row height to make the final output adjust to page widths.

Closing Remarks
As you would have seen this was easy tutorial overall. Most of the print options are very straightforward and easy to apply. If you are interested to learn more about printing you may visit the below links
- Print Gridlines in Google Sheets
- How to Print Preview in Google Sheets
- Add Header, Footers and Page Numbers in Google Sheet
That’s it on this topic. If you face any issues in implementing the above methods then leave a comment down below. Keep browsing SheetsInfo for more such useful information 🙂

