Calendar are superb tools to keep track of important upcoming scheduled tasks, planning monthly/weekly activities or giving your clients a roadmap of deliverables.
But do you need to work with spreadsheet applications like Google sheets to create and manage a calendar, when you have ton of other applications like Google Calendar, Microsoft Calendar etc.
Actually, why not. Exceptions always exist for good reason, and with Spreadsheets there are no bounds of customization which you cannot do otherwise.
In this article, we’ll understand how to use free Calendar Templates available within Google Sheet. Also, we’ll learn to create monthly/yearly calendar templates from scratch.
So, lets begin.
Table of Contents
Free Resources
Feel Free to directly copy the templates used in this tutorial from below links:-
Using Free Calendar Templates for 2021/2020
Google Sheets provides us with free ready-made Calendar Templates which are very easy to use. Simply follow the below steps.
- Open Google Sheets
- Open Template Gallery
- Find 2021 Free Template
- Select and Open 2021 Free Template
Below Visual Representation will help you understand the steps better.
1. Open Google Sheets. A page like below should open.

2. Click on “Template Gallery” present in top right corner.

3. A whole list of free templates opens should open-up. Something like below:-

4. Now scroll down to the “Personal” Section. As clearly visible we have 2021, 2020, 2019 free templates available for use.

5. Select 2021. Below sheet should open up.
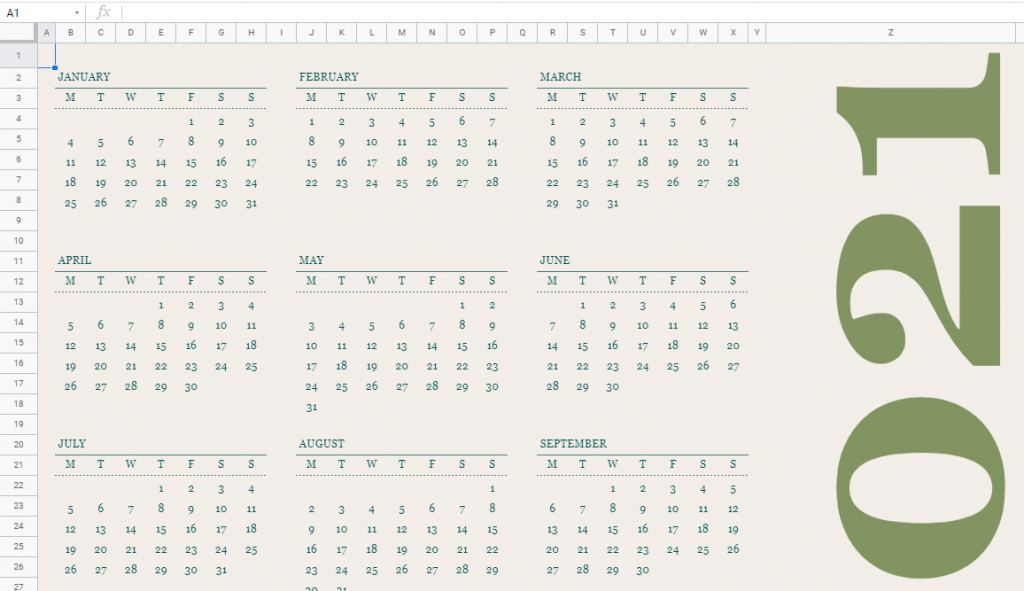
We have the calendar template now ready. Good thing is that not only we have a compresses yearly view, but also month-wise template handy in rest of the sheets.

Creating a Calendar Template for 2021 in Google Sheets
While the previous section should suffice for 90% of users, some of you may still want to create a new template(monthly/yearly) from scratch. So let’s begin.
Steps to create a Calendar in Google Sheets:-
- Open an Empty Google Sheet
- Create the Header names(Month and Days of week)
- Format Header as necessary
- Mark Dates(1,2,3,4…) in the calendar setup leaving alternate row blank
- Make necessary formatting changes
- Repeat steps 1-6 for other months.
So, that was a short summary. Lets go through each individual steps in more detail
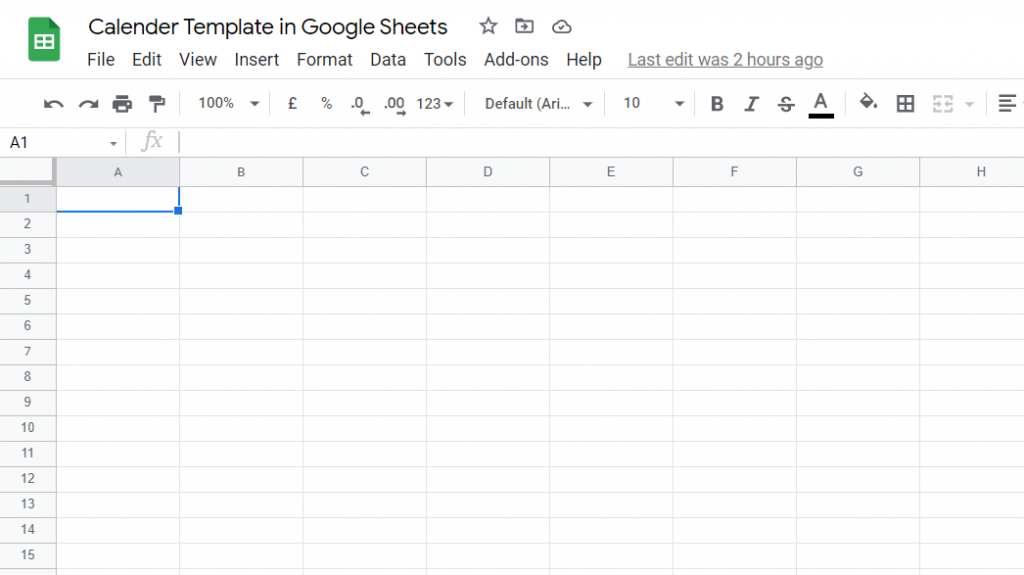
1. Open a Blank Google Sheet like below.
2. Delete Columns J to Z as they wont be needed
3. Now Type Jan’21 in B1.(Press F2 to enter Cell Edit Mode). Then make necessary Formatting Changes. (Merge -> Center Align -> Vertical Align -> Bold -> Color fill)

4. Below that, Type Monday in B3 and then select and drag right upto H3.

5. Now Start filling in the dates, leaving a row vacant in between

4. Once Done. Lets make some basic formatting enhancements. Starting with increasing the row height of vacant rows.
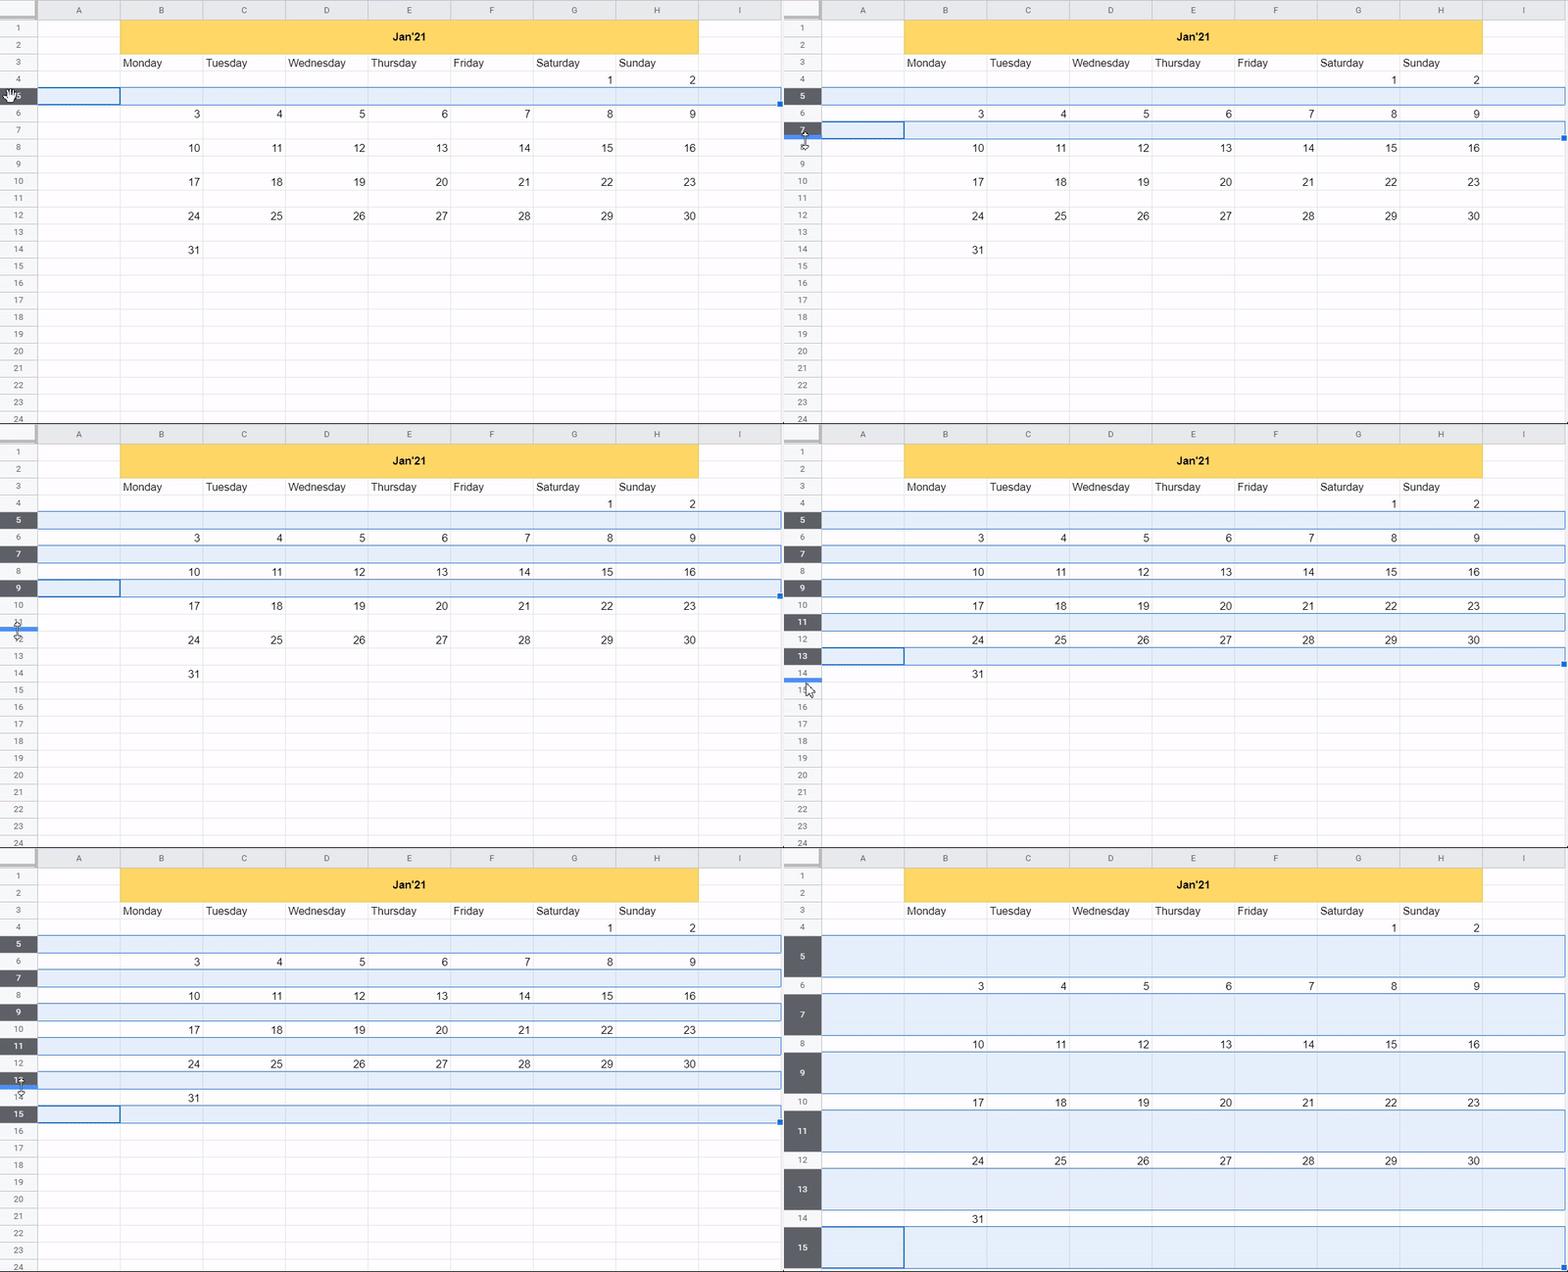
5. Now we’ll center align the entire setup, make text bold and add borders for better clarity.
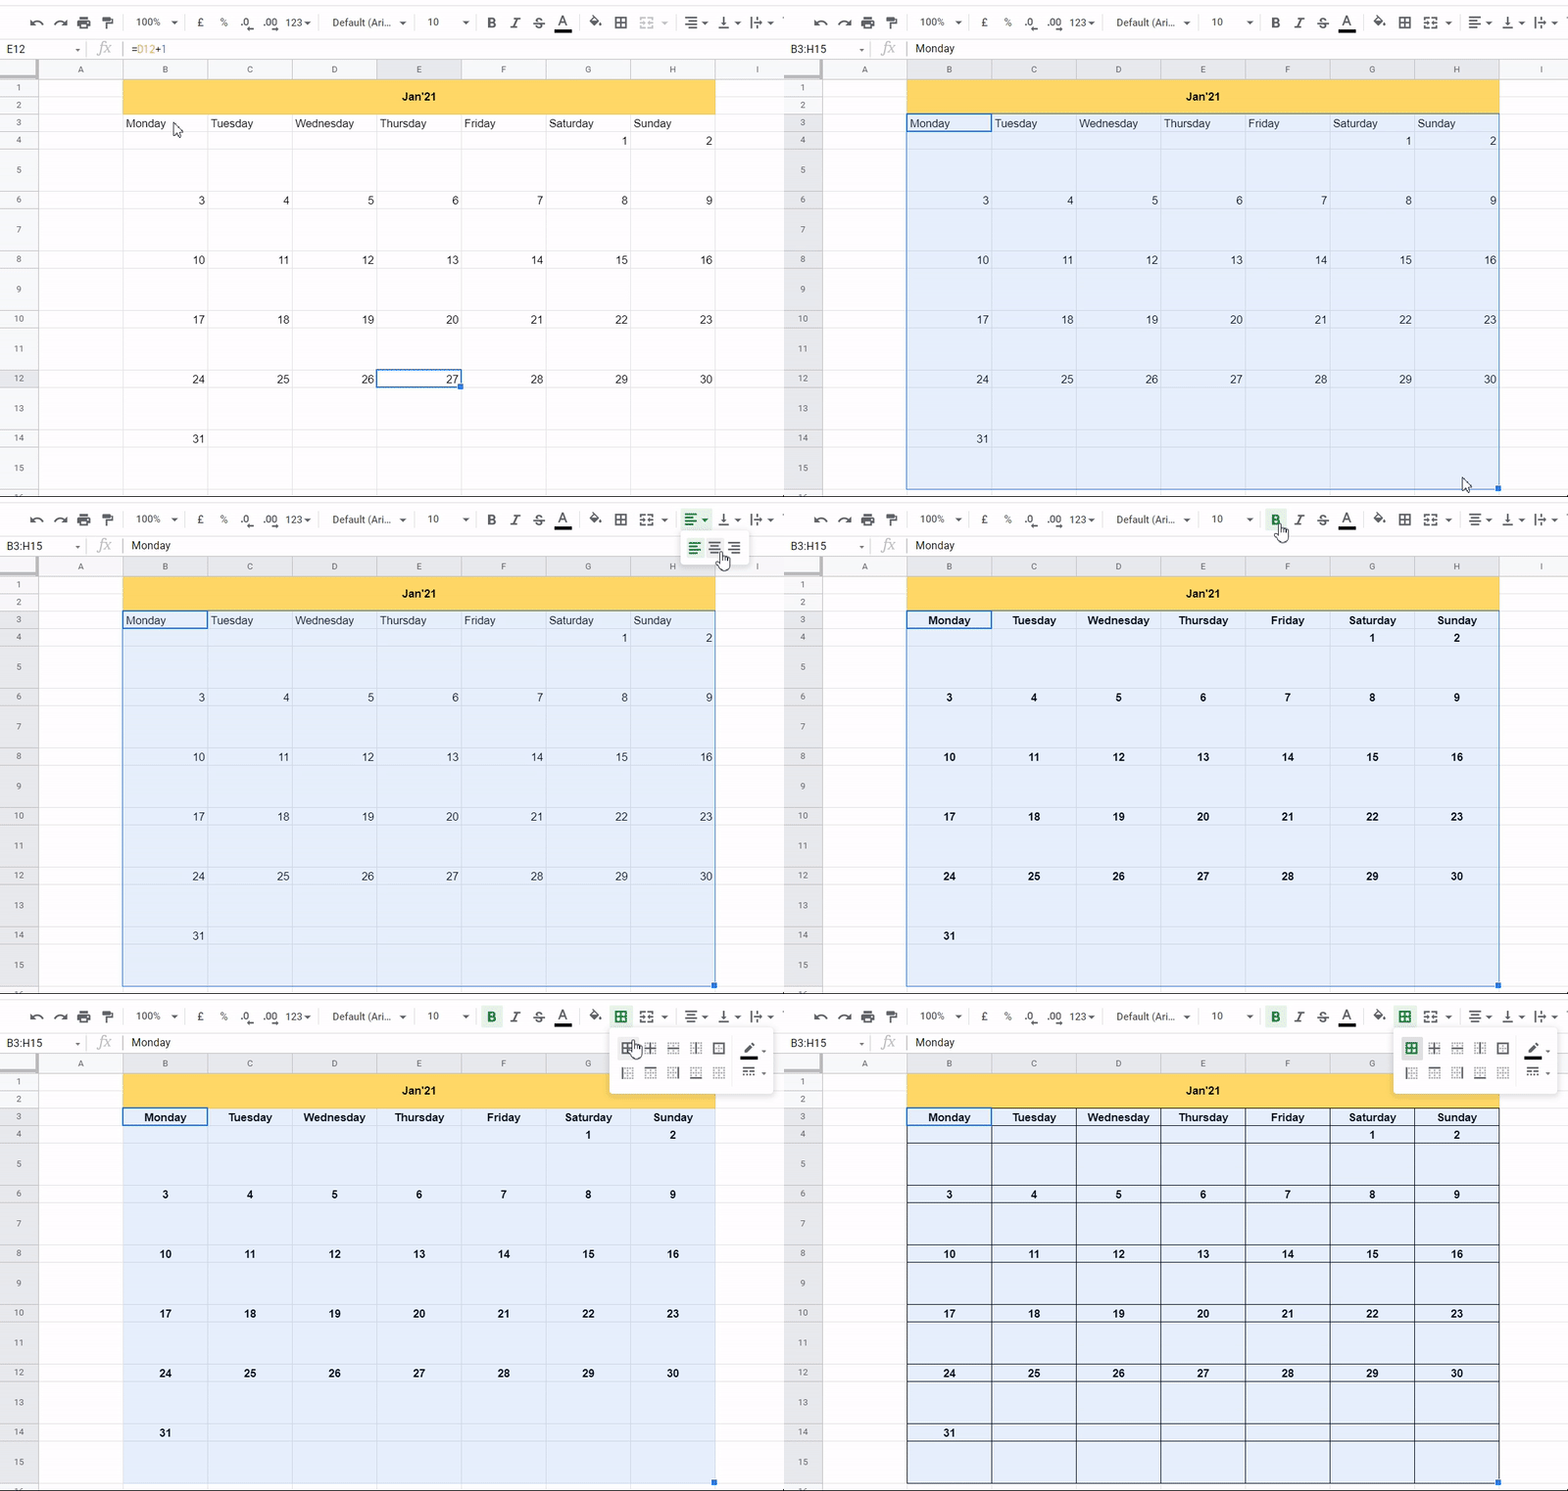
In a similar fashion we can also create for Feb’21, Mar’21 and so on.
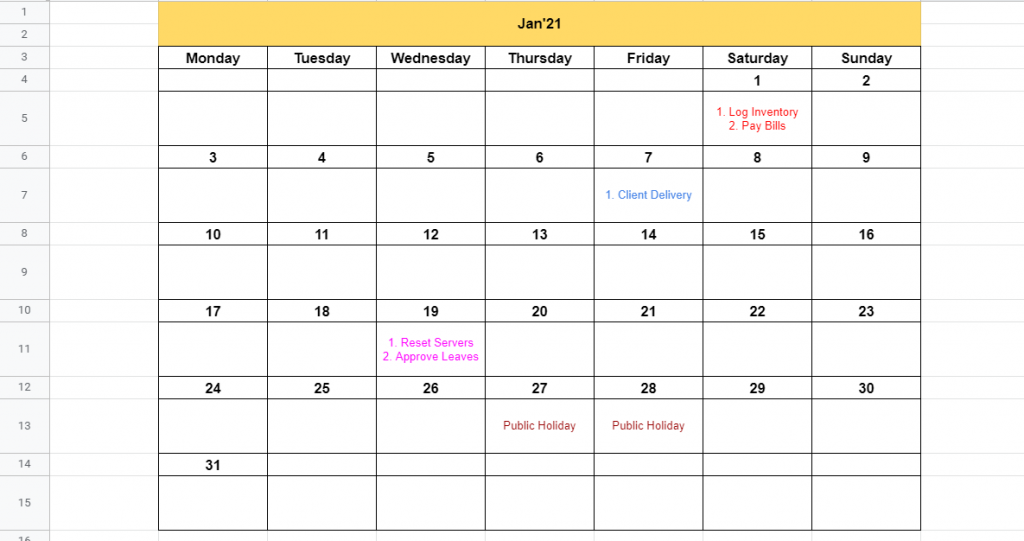
These templates can now be easily used to manage personal/professional schedules. Example below:-
That’s it on this topic. If you still have any questions, then drop a comment below. Keep browsing SheetsInfo for more such useful information 🙂

